How To Add An Image In Gimp
Move a point up to brighten the selected tones within the image. Click Select File Type to open the list of available file types.
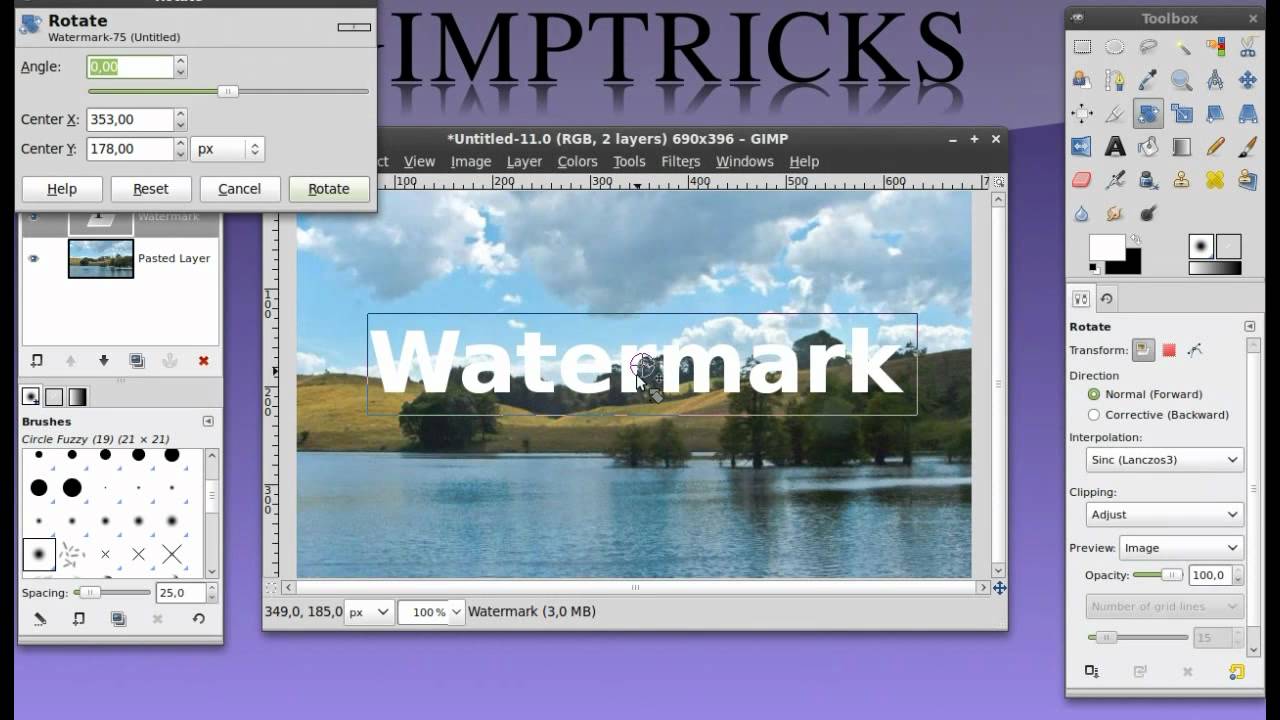
How To Make A Watermark In Gimp Beginner Tutorial Youtube Gimp Tutorial Gimp Tutorial
This tutorial walks through some basic image and layer manipulation techniques.

How to add an image in gimp. Once we have GIMP we open it and we are going to create a new image. Copy and paste an image either from your disk or from another GIMP file in the new file that you just created. GIMP is probably the most well-known free alternative to Photoshop.
Adjust position manually or change position so it is incremental. This will open a window called Create a new image. Select Export to open the Export Image.
To do this click on the File and New tab. Open GIMP and create a new file with the dimensions you need. A selection mask a set of channels a set of paths an undo history etc.
I show you 3 ways to add or import an image as layers in Gimp. Making a Heart Shape with Selections. Click along the white diagonal line to create adjustment points at various tone sections.
In reality however a GIMP image is a a complicated structure containing a stack of layers plus several other types of objects. How do I save Gimp image as JPEG. A dialog box will appear.
How do I edit layers in Gimp. But yeah basically the workflow is get the images into GIMP create some guides and then align the images to the guides. It is tempting to think of an image as something that corresponds with a single display window or to a single file such as a JPEG file.
Select File Export As. Paste an image to layer in GIMP. Locate the Layers palette in the bottom right corner of your GIMP window right-click on an empty space in the panel and choose Add Alpha.
Locate and select the desired image file then click Insert. The basic process is very simple heres how it works. You can access this command from the image menubar through Layer Stack Select Next Layer or by using the keyboard shortcut Down.
Hope the video is helpful for you. Then repeat adding 200 each time. The picture will appear on the currently selected slide.
Use GIMP for simple graphics needs without having to learn advanced image manipulation methods. Putting each image on a separate layer will make things easier. Here we must establish the Width and Height of the new image that is going to have 1000 x 1000 pixels and click on OK.
Making a Circle-Shaped Image. Open all images in GIMP done CTRLSHIFTF. Open the Color menu and select Curves.
Open the File menu and choose Open As Layers. Add additional images to new layers. Open your background image or create a new file.
The Quick Guide to Brighten and Darken an Image in GIMP. The Quick Guide to Overlaying Images in GIMP. How to create a circular-shaped image.
Learn how to get perfect outlined images in Gimp in this simple step by step tutorialCheck out our recommended courses. Create a new image and insert the guides. Clicking the Pictures command.
Use the Export As box to assign a name and location to the image. Select the Insert tab then click the Pictures command in the Images group. Browse to select the image you want to overlay on the background and click Open.
Learn GIMP For Beginners 50 Off httpbitlyLearnGIMPHalfOff Learn how to load in photos or images to GIMP so that you can start editing. To insert a picture from a file. At this point it is important to check if the image that you pasted is.
Scroll down the list and select JPEG Image. The first value will be 200 the width of one image. I see now this is what the other commenter suggested.
If youve used Curves in another program like Photoshop or you just need a quick reminder of the basics heres how to use Curves in GIMP.

Gimp Alpha Channel Tutorial Gimp Tutorial Gimp Raster Graphics

Pin On Gimp Tutorial

How To Add Text Outline In Gimp Gimp Outline Text

The 8 Best Gimp Plugins And How To Install Them Gimp Tutorial Gimp Brushes Gimp

How To Add New Layer Effects To Gimp 2 10 Beginners Guide Part 3 Getti Gimp Beginners Guide Beginners

Learn How To Add Fake Rain To A Photo In Gimp Gimp Tutorial Photoshop Elements Tutorials Gimp

Please Wait Gimp Tutorial Gimp Photo Editing Gimp
Find Center Of Canvas In Gimp Youtube Gimp Gimp Tutorial Computer Aided Drafting
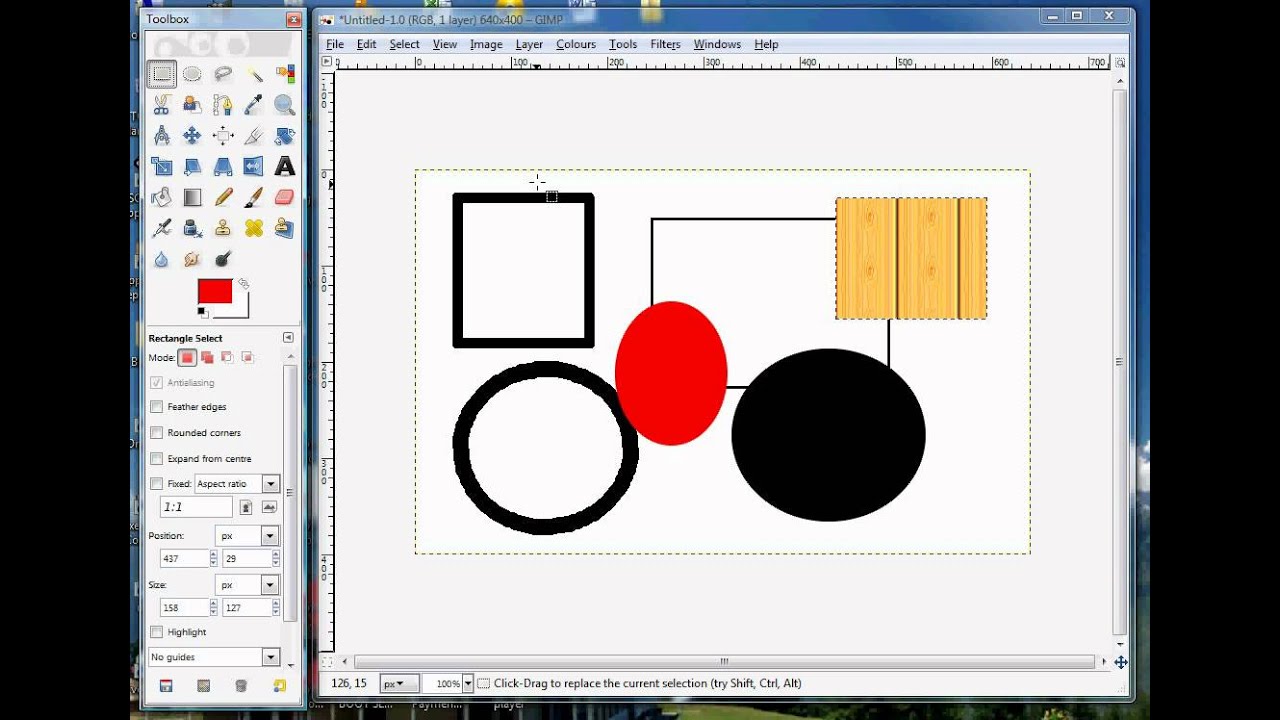
Gimp Tips Draw Add Basic Shapes Circle Square Rectangle Oval Ellipse Youtube Basic Shapes Scrapbook Tutorial Gimp
Gimp 2 8 Tutorial For Beginners Filmstrip Photos Gimp Tutorial Tutorial Film Strip
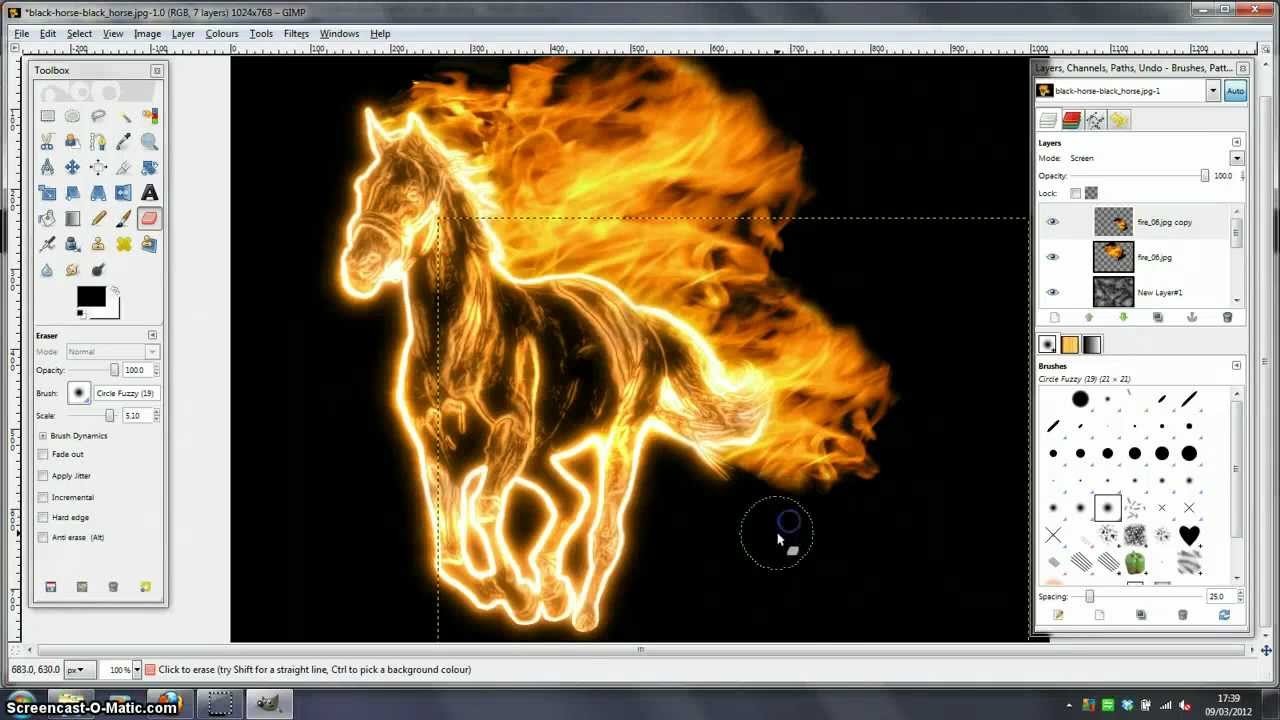
Gimp Tutorial How To Set An Image Of Fire Awesome Gimp Tutorial Gimp Photo Editing Photography Software

Pin On Gimp Tutorials

Pin On Sewing

How To Add Fake Snow To A Photo In Gimp Tutorial Gimp Tutorial Photo Photo Editing Tutorial

How To Create A Mosaic Photo Collage With Gimp Free Picture Editing Software Photo Mosaic Photo Collage Picture Editing Software

Gimp Tutorial How To Make Custom Patterns Gimp Tutorial Photoshop Tutorial Gimp
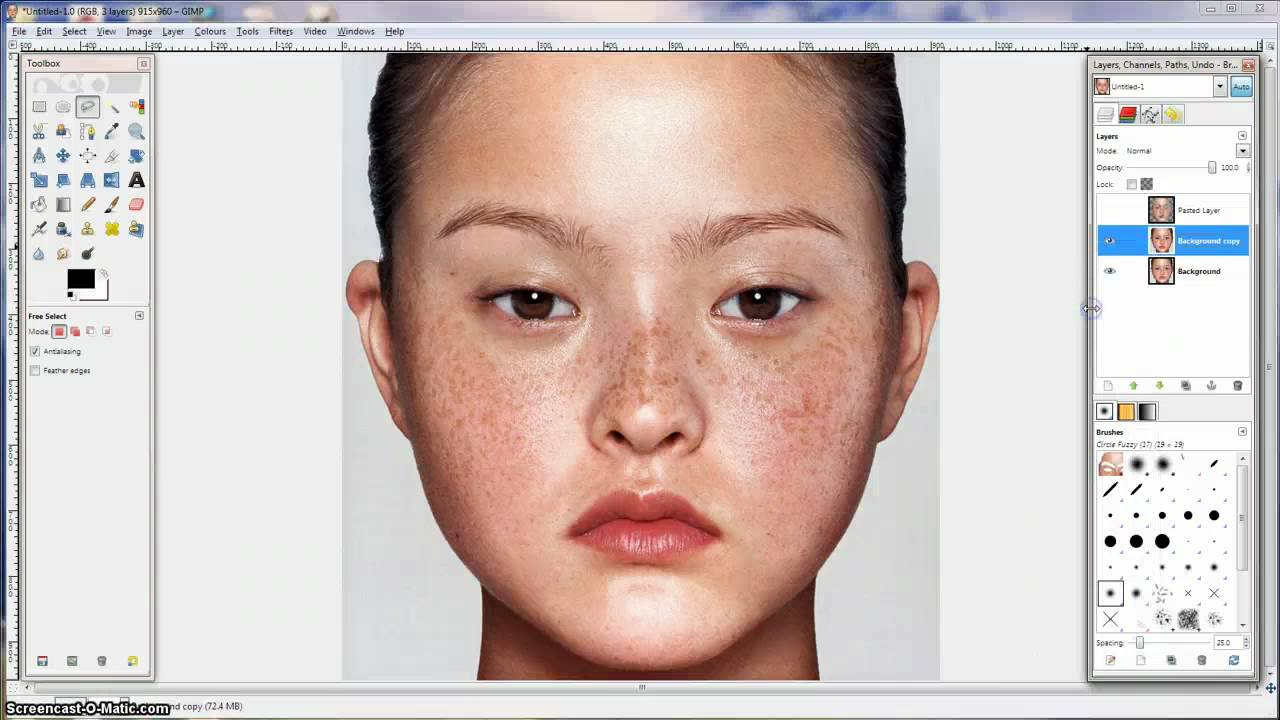
Gimp Tutorial Naturalistic Skin And Eye Retouching Gimp Tutorial Gimp Photo Editing Photography Software

How To Add Layers In Gimp Gimp Tutorial Gimp Dslr Photography Tips

Transparent Image With Gimp Gimp Gimp Tutorial Photoshop Elements Tutorials


Posting Komentar untuk "How To Add An Image In Gimp"